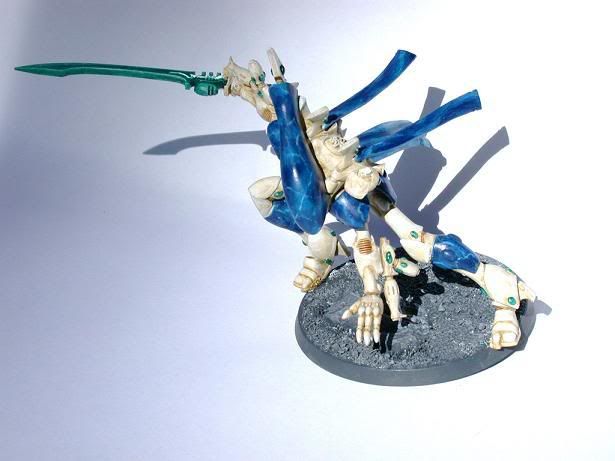
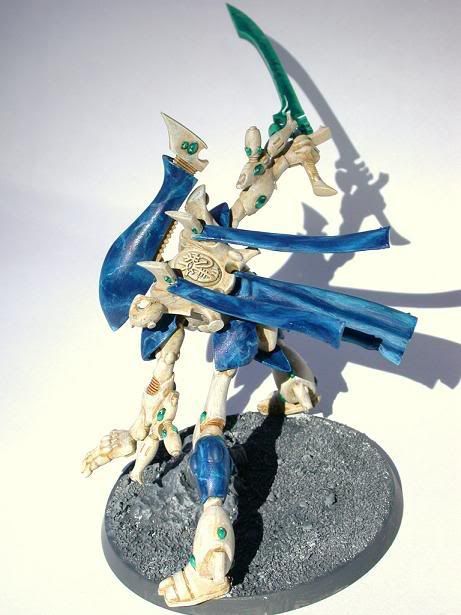
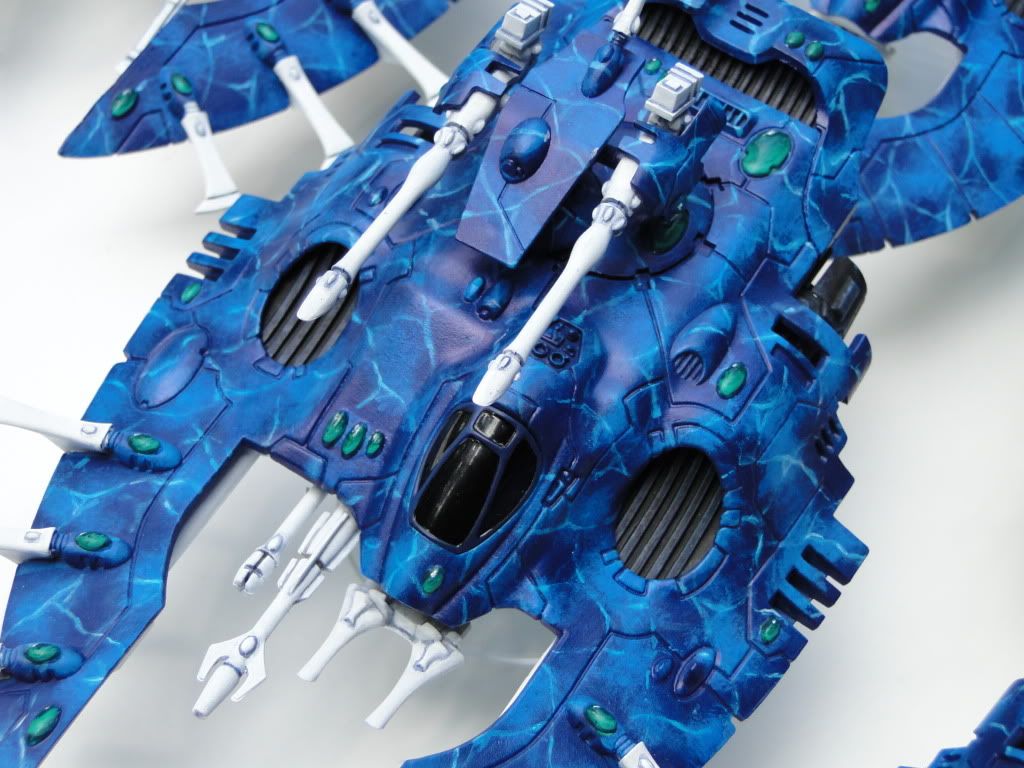
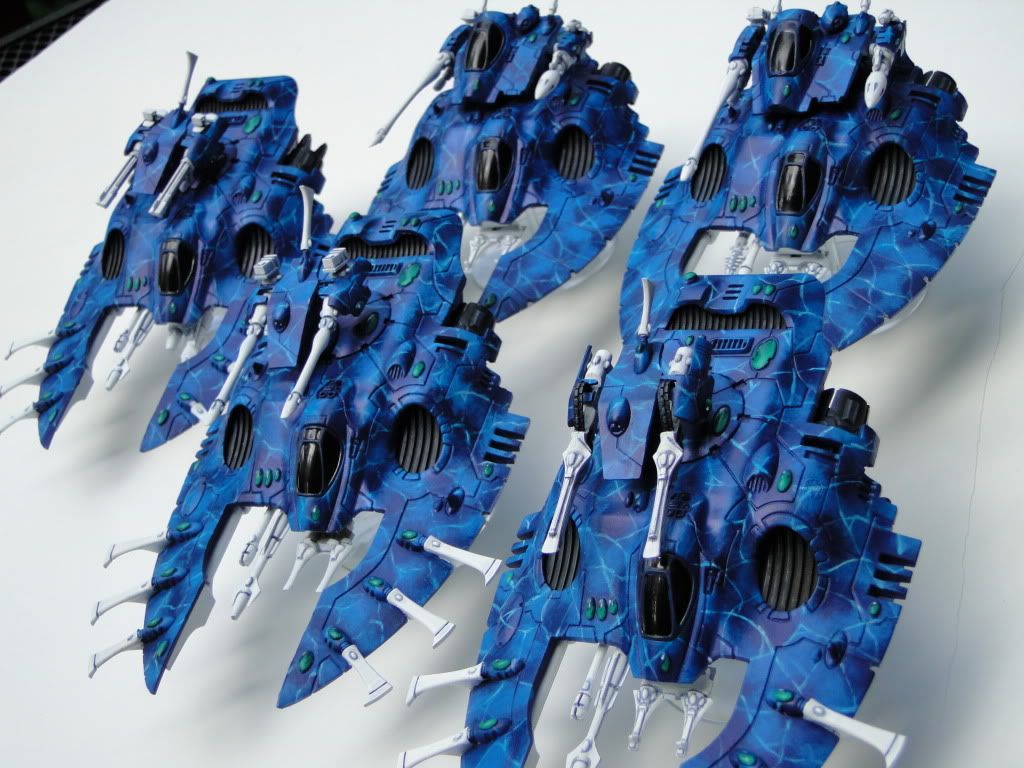
Here is a technique I developed when I first started playing
Warhammer 40K. I’d bought an Eldar Falcon
and thought it would be cool to represent the Holo-Field with a pool water
effect. This technique can also be used
for lightning or warp effects.
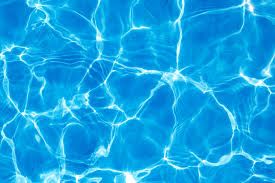
Before you start, find yourself a reference picture. A simple Google search on "pool water" will yield a ton of stock photos. Spend some time looking at this – study the different colors throughout
and note the different layers. There are
areas of dark blue “deep water”, medium blues and “high water” areas of an
almost icy blue. Over all of this is a
thin web of reflecting water where the light hits the waves. To recreate this look, we’ll be using layers of progressively lighter
blues and then smoothing the entire look down with an ink wash.
Tools
- ·
White Primer
- ·
Kantor Blue
- ·
Caledor Sky Blue
- ·
Lothern Blue
- ·
White Scar
- ·
Sky Blue Ink
- ·
Tank Brush
- ·
Dry Brush
- ·
Detail Brush
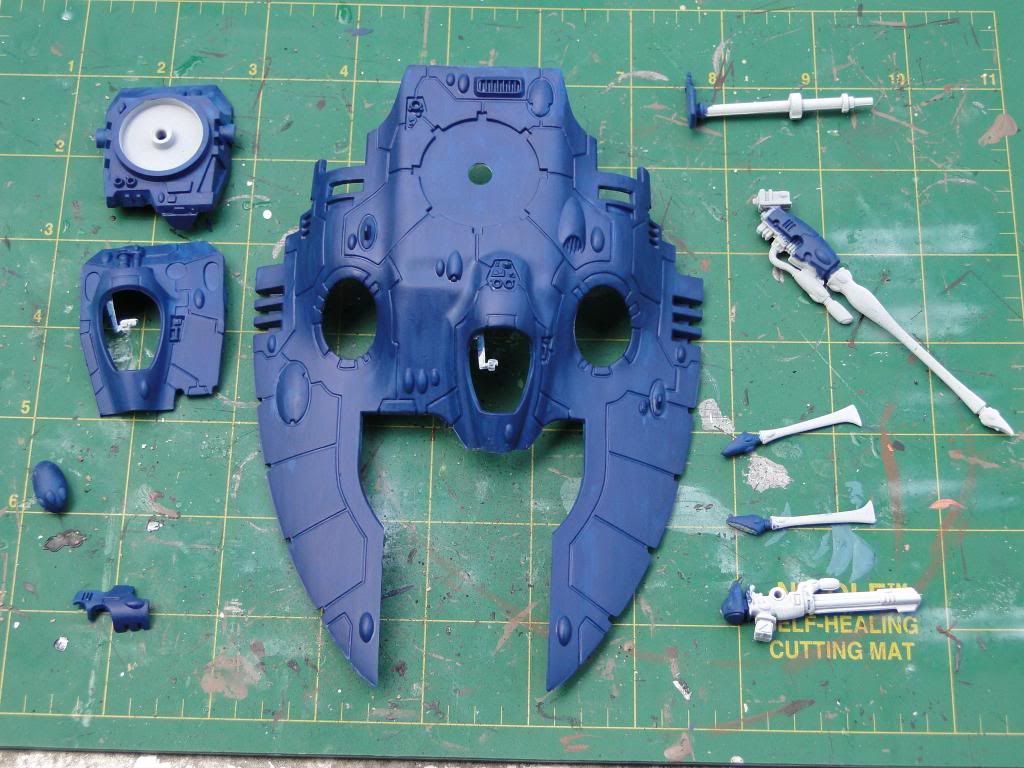
Step 1: Prime White
White primer yields brighter, more vibrant colors. Always use white for this effect.
Step 2: Basecoat the “Deep Water”
After watering down your Kantor Blue, apply two thin coats
with your tank brush. Two thin coats are
better than one thick as you want a clean, smooth surface and avoid any drops
or chunks.
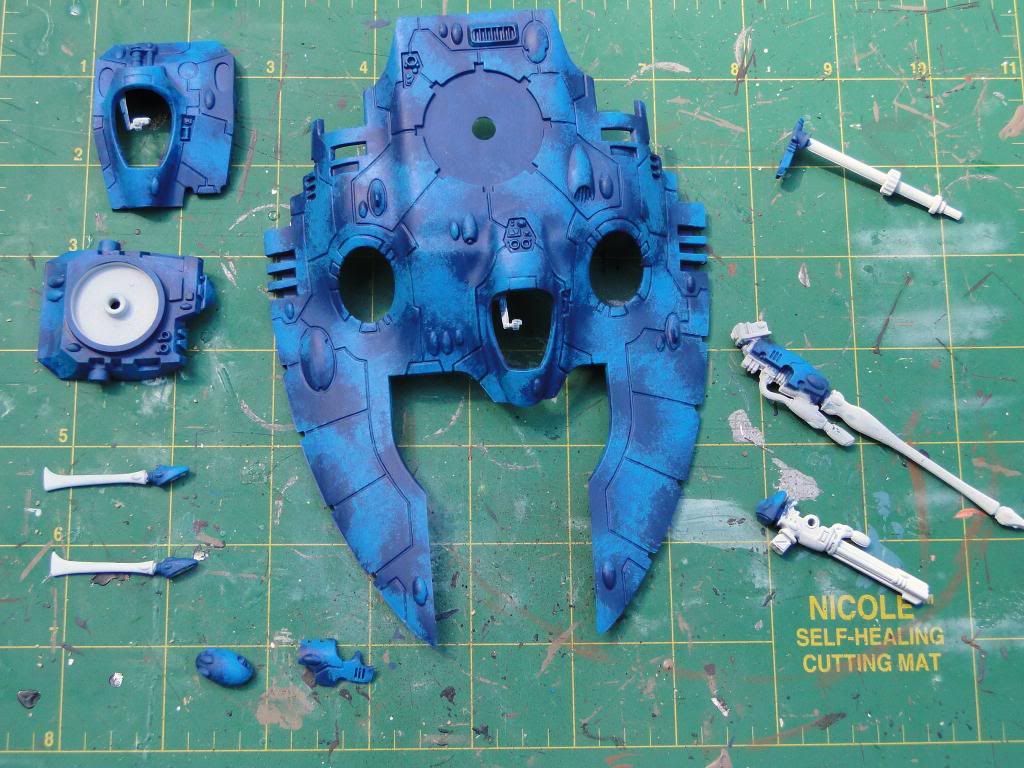
Step 3: Stipple the “Medium Water”
This next step involves a technique called stippling – or
dabbing at your model with a dry brush that’s been lightly loaded with paint. This will ruin your brush over time as it
causes the bristles to curl outward a bit.
After watering down your Caledor Sky slightly, dip your dry
brush lightly. Run it over a paper towel
to remove some of the paint, leaving a little more than you normally would if
you were dry brushing. Dab the brush
onto your model lightly – just enough so that the bristles bend slightly. Repeat in a giraffe-like pattern, leaving
oval and circular shapes of deep water.
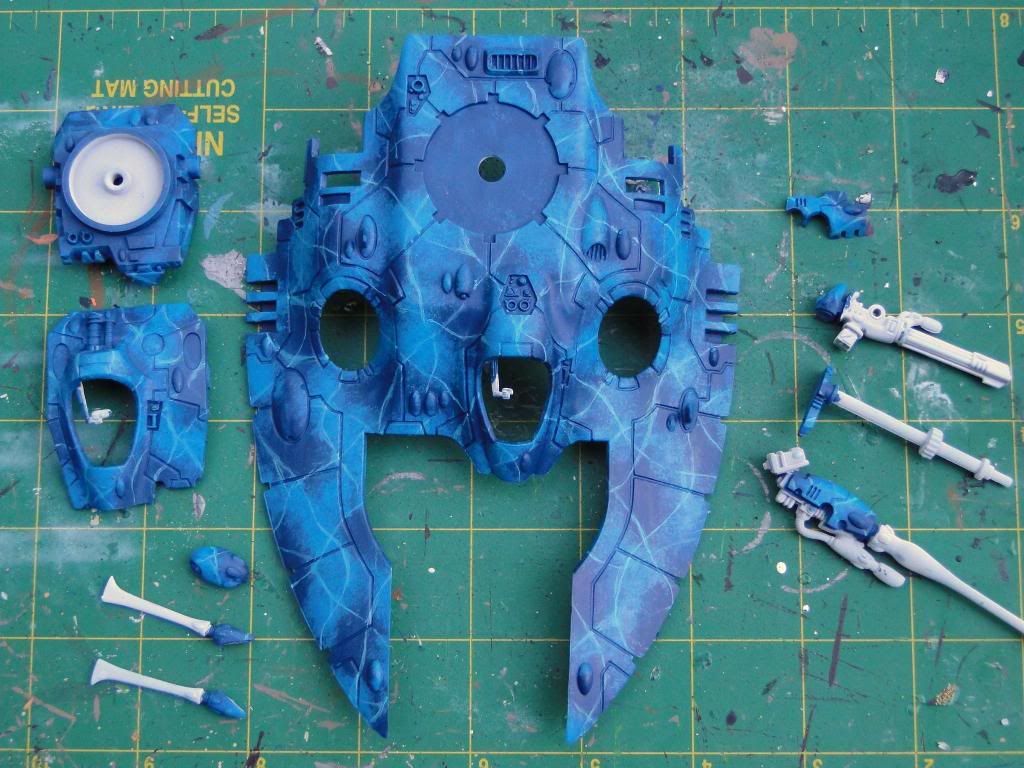
Step 4: Stipple the “High Water”
Next, prepare a mix of 50% Caledor Sky and 50% Lothern
Blue. Follow the same technique and
idea as the Medium Water, but don’t just stipple in the center of the Medium Water areas. Shake it up a bit. It’s okay if you have an area of Medium
Water, then High Water, then Deep Water as it shows were the water crests and
then dips down sharply. Use your pool
water picture for reference.
Step 5: Paint the “Crests”
This next step takes a steady hand. Grab your detail brush and water down your
Lothern Blue. Using a very light touch,
paint on the “web” of reflective light across your pattern. Again, do not just follow the center of the
Medium and High Water areas – these can cross all over your model.
The pattern is similar to the giraffe – roughly oval shapes
connected to each other – but you can add thin connecting lines in between and
some that trail off into nothing. Smear
some areas with your finger as you paint to help smooth transitions while
leaving others relatively sharp.
Don’t get discouraged if your lines turn out too thick. You can paint them thinner with one of your
other mixes.
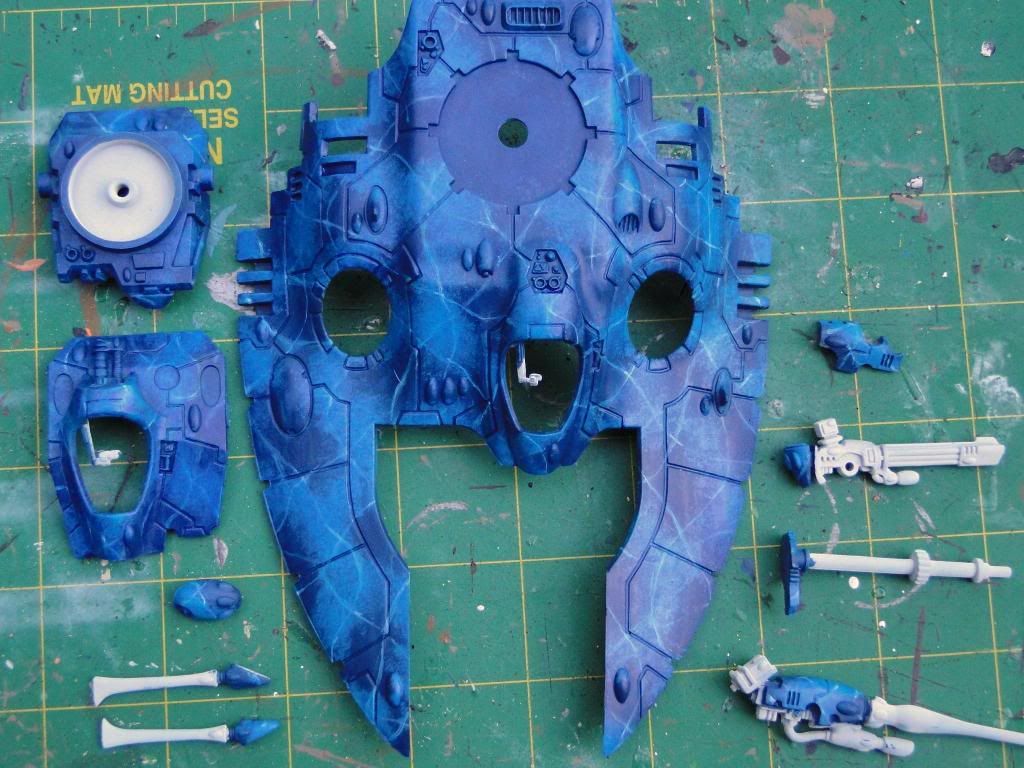
Step 6: Highlight with White Scar
In this step, take a little white and apply it to the crests
sparingly where the lines intersect.
This will help accentuate them more and bring more depth. You don’t have to do every intersection and
can even do a few mid-line if you please.
Step 7: Ink Wash
This is one of the most satisfying steps, the ink really
smooths out the colors and causes the model to pop. Fill a small bowl or glass of water. Taking your tank brush, first dip the end in
the Sky Blue ink and then into the water.
You can touch it to your paper towel if needed if you think you’re
loaded it too much. Then brush onto your model.
If your ink was too strong/dark, you can go back with your detail brush and pick out the crests and peaks with your Lothern Blue and White Scar until you're happy.
And there you have it! You could experiment with green, red or even purple. The key is a light touch with the detail brush and taking your time. Don't be afraid to smear out lines with your finger if they go on too thick.